
Introduction
Litecoin is one of the few cryptocurrencies that are alive for more than 10 years. This is a good metric for checking the quality of a cryptocurrency, as many coins that were made exclusively for profit die within a few years. The litecoin network has a nice level of decentralization, but I think it could be a lot better. A simple way to help is to run a litecoin node. The requirements for this are relatively low and you also gain more privacy by using your own node since you won't be sending the IP to an unknown node which, if it wants, can see that IP X with balance X has accessed its node. It could, for example, try to find out the city where you live if you weren't using a VPN. If you have a great amount of money, that is a big issue that you can fix using your own node. Litecoin will also have more privacy on mobile wallets with MWEB very soon, so in my opinion, this is definitely a solid cryptocurrency.
Requiriments
To run this docker as it was created, you will need the following:
- 4GB ram available for litecoin node
- More than 179GB available for litecoin node
- Be able to open port 9333 or use ssh tunneling if your ISP use CGNAT
- Docker
Installing
To install the node, you can enter inside your server and then create the following docker-compose.yml
version: '3.7'

services:
  litecoin:
    image: theselfhostingart/litecoin-node:0.21.3
    container_name: litecoin-node
    volumes:
      - ./litecoindata:/home/litecoin/.litecoin
    ports:
      - "9333:9333"
    restart: always
    environment:
      - LITECOIN_RPCUSER=yourusername
      - LITECOIN_RPCPASSWORD=yourpassword
After that, you can create a folder for litecoin data:
mkdir -p $(pwd)/litecoindata
sudo chown -R 1000:1000 $(pwd)/litecoindata
sudo chmod 755 $(pwd)/litecoindata
Lastly, you can put the node up with:
docker compose up -dChecking logs
This docker provides an easy way to check the sync status and logs.
docker logs -f litecoin-nodeThe output will be similar to something like this once the node starts syncing:
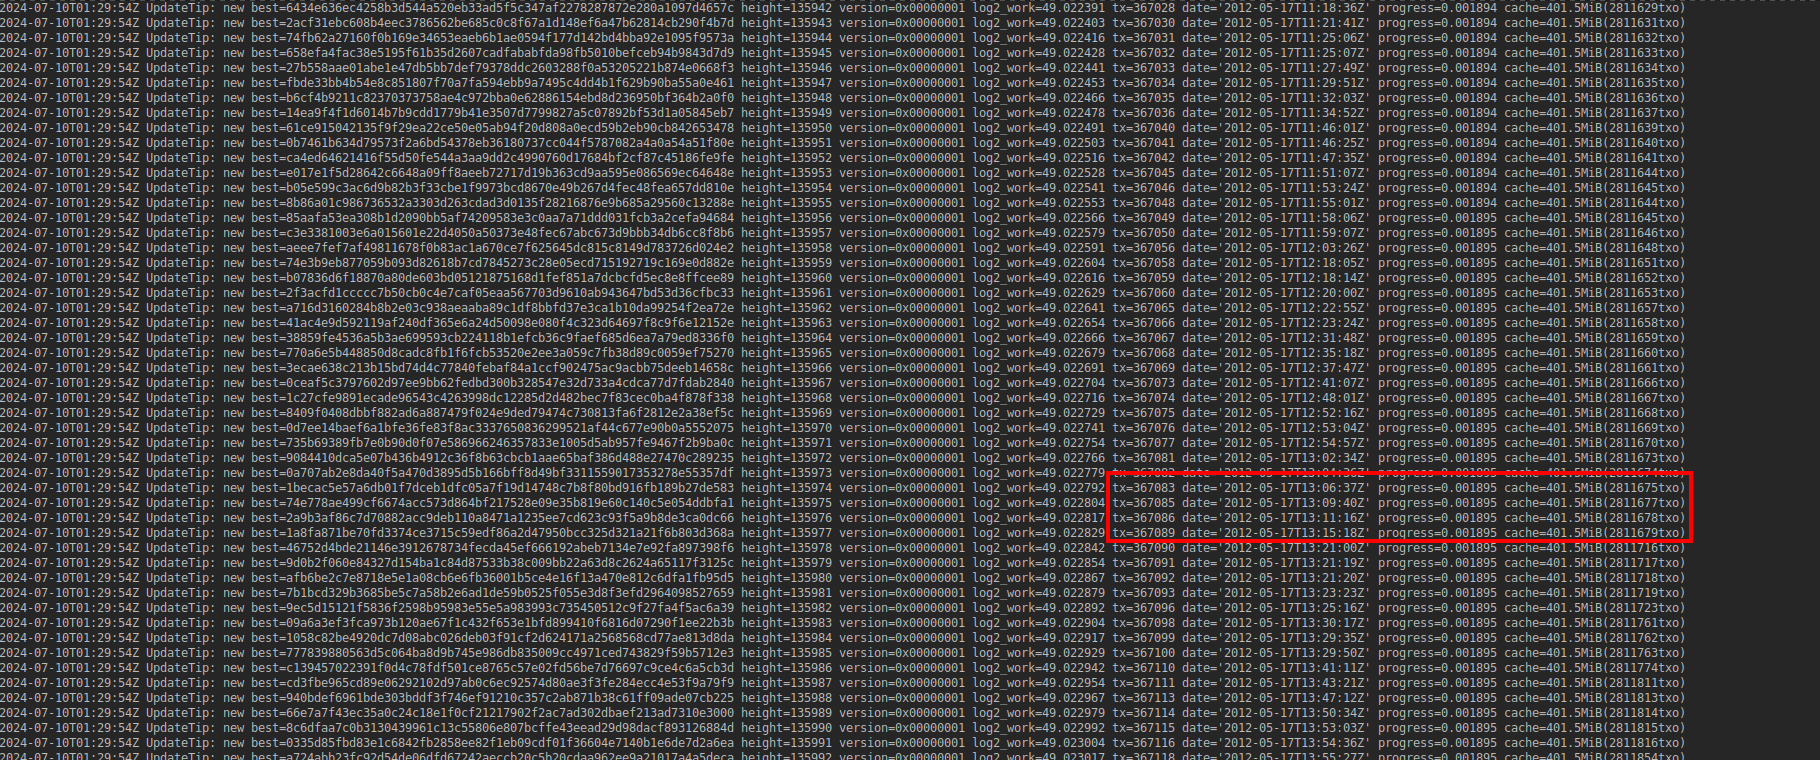
You can check the status sync by checking the data of the new best log. Once it is synced, it will be updated to our current day.
If you just need to see the latest 10 logs for example, you can use this command:
docker logs -f --tail 10 litecoin-node
Connecting to Litewallet
Using the LiteWallet app, you can connect to your node following these steps:
Settings -> Advanced Settings -> Litecoin Nodes -> Switch to Manual Mode
On manual mode, put the IP address of your VPS and you should be connected.
Extra
There are plenty options to configure with a litecoin node. If 4GB of ram is too much for you, can you check this documentation to reduce the ram usage.
 litecoin-project
You can also check the Docker Hub page HERE for more details.
Conclusion
That is it. If you enjoyed this guide, consider subscribing to our site to get more great guides. You can also donate with nearly any cripto below:
